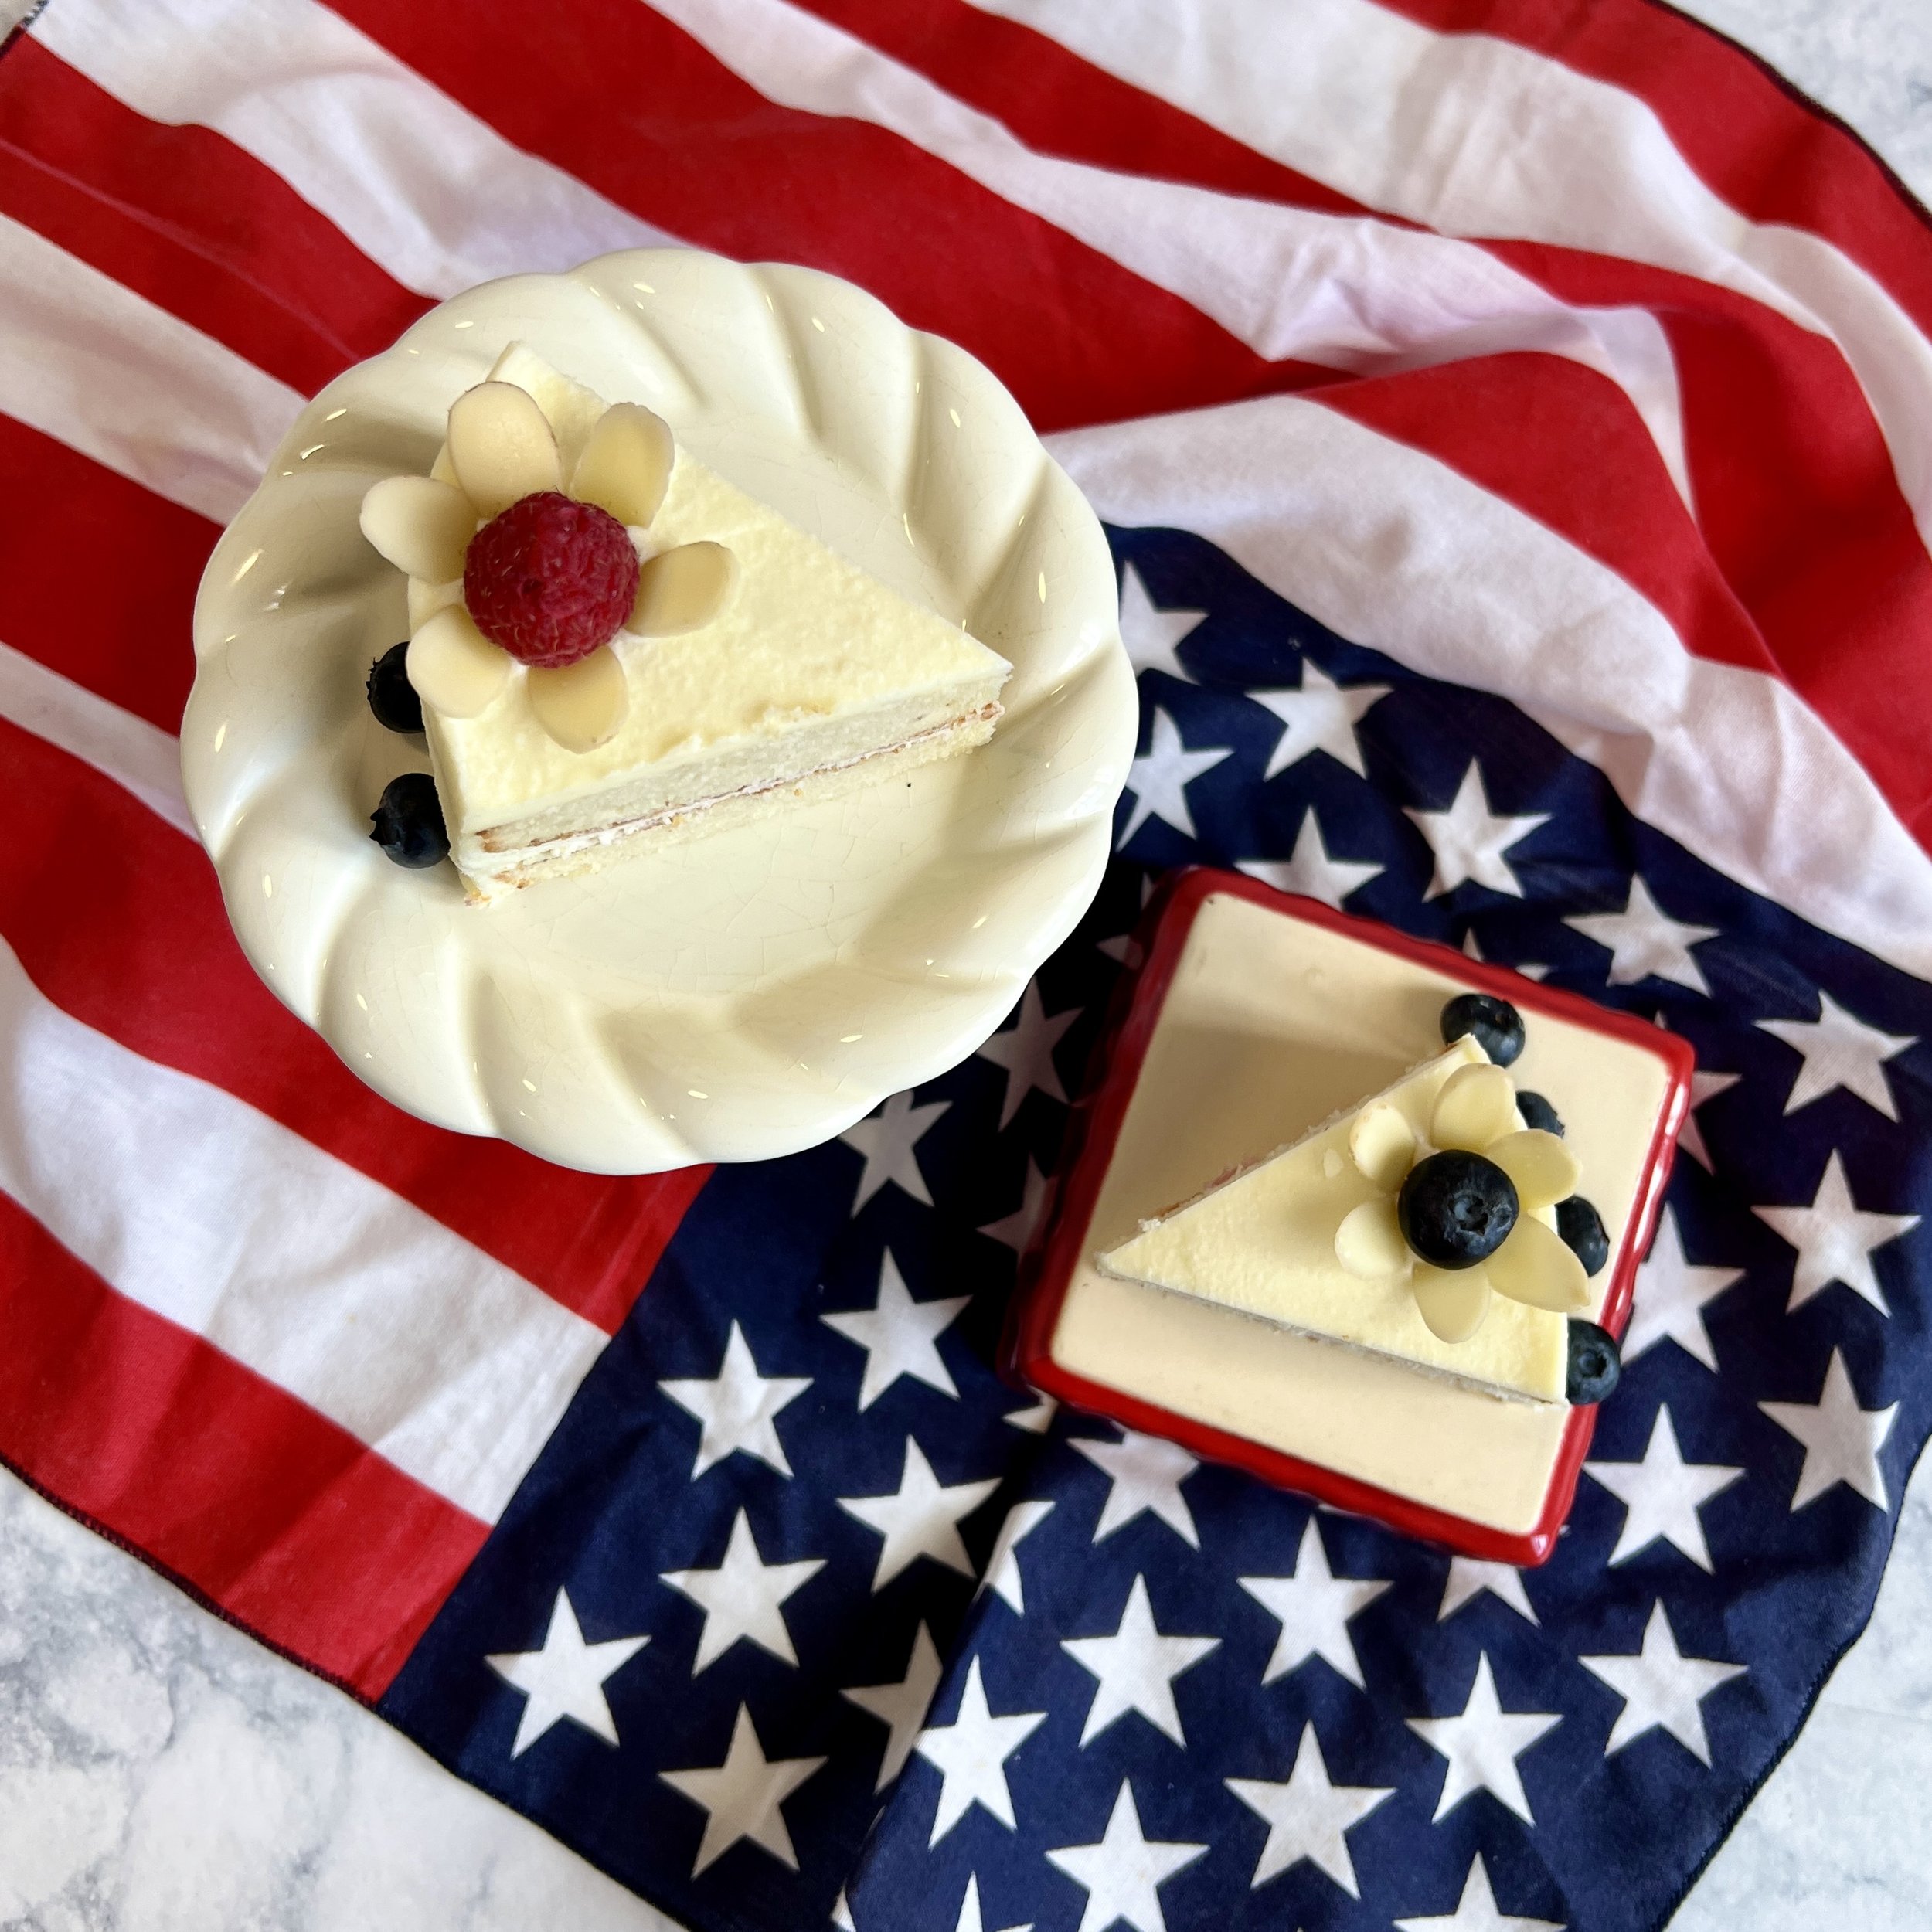
Coconut Overload Cake
If you love coconut, then you are in for a treat. Introducing a yummy coconut dessert. Her name is Coconut Overload Cake with a cream cheese coconut frosting. Don’t let the fur coat fool you; she is a delightful dessert for spring or winter. Coconut Overload Cake is lectin-free, gluten-free, and sugar-free!
This Coconut Overload Cake will be the last cake you want to eat! In this post, I will share the recipe for Coconut Overload Cake, the tips and tricks for smooth, creamy frosting, and a quick tutorial on how to make your cake look just like this one. Did I mention this Coconut Overload Cake is diabetic-friendly?

Let’s talk Coconut…
Unsweetened coconut is the only kind of coconut we use here!
For the outside of the cake, we used regular, unsweetened shredded coconut. If you wanted to get fancy and give a your Coconut Overload Cake little color and dimension, try toasting the coconut before you decorate! Would you like to know a simple way to toast coconut? If so, scroll down to the comments section and let me know if you want a easy tutorial.

Coconut Overload Cake
SUPPLIES
Here are the supplies you need to make Coconut Overload Cake. Lectin Free Wife contains affiliate links which means I earn a small commission at no cost to you if you make purchase through one one of my links.

6-in round cake pan- Most of the cake recipes on Lectin Free Wife use this 6-inch round cake pan so you can buy it and know you will use it again. For a double layered cake, You’ll need two cake pans.
Cake Stand- Cake stands come in all sizes and shapes. When buying a cake stand for a 6-inch cake pan, you’ll want at least a 7-inch plate but I wouldn’t get a cake stand wider than 9-inches. It looks kind of funny if you have this small cake sitting on a huge cake stand. This cake stand came from the Dollar Spot at Target but sadly it isn’t in stock anymore.
Pro tip: Keep your eyes open because you may find the best cake stands in unsuspecting locations like the dollar spot or thrift stores.Off set spatula- If you are going to frost a cake, off-set spatula is the only way to go. This link is for a set of 3 different sized off-set spatulas. Usually the smallest size is the one I prefer but to each their own.
Kitchen Aid Stand Mixer- The day I got a Kitchen Aid Stand Mixer my life was immediately upgraded. Since starting the lectin-free diet, I can no longer buy pre-made baked goods at the supermarket. This mixer saves me time and helps me bake everything at home that a professional bakery can make.
Fine Mesh Strainer- You need these! When you make the frosting using the monkfruit sweetener—You HAVE to SIFT with an ultra fine mesh strainer! Otherwise the frosting has a crystalized texture.
INGREDIENTS
Here’s the goodies you need to make Coconut Overload Cake. Lectin Free Wife contains affiliate links which means I earn a small commission at no cost to you if you make purchase through one one of my links.
For the cake
1 1/2 c blanched almond flour (150 g)
1/2 c coconut flour (50 g)
2 tsp baking powder-Aluminum-free
1/4 tsp salt
1/2 c coconut oil (room temperature)
1/2 c Lakanto Monkfruit sweetener- Golden (100 g)
4 eggs (room temperature)
3/4 c almond milk
1 tsp vanilla extract
shortening (compliant)
For the frosting
8 oz organic cream cheese
8 tbsp goats milk butter
1/2 c Lakanto powdered monkfruit sweetener-sifted in a ultra fine sifter
1 tsp vanilla extract
1-2 c finely shredded coconut-unsweetened

INSTRUCTIONS
Here’s how to make Coconut Overload Cake.
For the cake
Preheat oven to 350° F. Grease and line (2) 6-inch pans with parchment paper.
In a medium bowl, whisk together the almond flour, coconut flour, baking powder, and salt until combined. Use a silicone spatula, and bring the powders from the bottom of the bowl to the top. Whisk again to combine thoroughly.
In the bowl of a stand mixer with the paddle attachment, add the coconut oil and monkfruit sweetener. Cream together for a few minutes until fluffy.
With the mixer on low, add the eggs one at a time, allowing each egg to combine in the batter. (Batter may look curdled, this is normal) Scrape down sides as needed and continue mixing on low.
Add the almond milk and extract to the mixer until combined. Scrape down sides if needed.
With the mixer on low, slowly add the dry ingredients until combined.
Divide the batter evenly between the two prepared 6-in pans
Use a spatula to smooth the top of the batter or wet fingertips.
Bake for 40 minutes. Insert a toothpick into the center to check for doneness when the toothpick comes out clean.
Let cakes rest in the pan for 10 minutes on a heatproof surface. Then remove cakes from pans and transferring to a wire rack to cool to room temperature.
For the frosting
In the bowl of the stand mixer with a paddle attachment, add the cream cheese and butter. Mix together until creamy and unified in color.
With the mixer on low, slowly add the powdered sweetener, scraping down the sides as needed.
Add the vanilla and mix until incorporated.
Frost a cooled cake.

How to frost & stack a layered cake
Line a baking sheet with parchment paper and set Aside.
Place bottom layer of cake onto the cake stand or plate.
Use 5-6 pieces of parchment paper strips (cut about 3 inches wide) to slide between the bottom of cake and the stand. This protects the plate from spills and helps with a professional finish.
Add a big scoop of frosting to the top of the cake and flatten with an off-set spatula. Purposefully, push the frosting over outside edge before adding the second layer of cake.
Add the second layer of cake. Check the slides of the cake to make sure the cake isn’t lopsided. If needed, manipulate the top layer until it is flat and sitting directly on top of the bottom layer.
Use 3 toothpicks to secure the layers top and bottom layer. Press the toothpick down into the cake far enough that it cannot be felt on the surface.
Before frosting the sides of the cake- use the off-set spatula to smooth the frosting from the middle layer. If there are holes or gaps in this layer- load the back side of the off-set spatula with frosting and fill in the holes.
To frost the sides of the cake-Load the back of the off-set spatula with frosting. Use one hand on the base of the pedestal to gently rotate the cake clockwise while use the other hand to press the back side of the spatula against the cake at a 90° angle (your hand should be in the air) and moving counter clockwise. Continue this step until the sides of the cake are covered with frosting. (Don’t worry if it’s not perfect, we are going to cover this area with coconut.)
Add the remaining frosting to the top of the cake and smooth with the back of the off set spatula.
Place the cake and pedestal into the refrigerator for 25 minutes. Leave the parchment paper strips under the cake.
Remove the cake and place the pedestal onto the prepared baking sheet.
Fill your hand with the shredded coconut. Start at the bottom of the cake with an upward sweeping motion run your hand up the side cake, filling the side with shredded coconut. Refill your hand every time you repeat this motion with fallen coconut from the parchment paper. Repeat this step until the entire outside edge is covered in shredded coconut.
Gently press your hand to the side of the cake, lightly securing the coconut into the frosting. Use a butter knife to knock off the excess coconut and return to refrigerator for 20 minutes.
Remove the cake from the refrigerator onto the prepared baking sheet. To create a crisp bottom edge-Use a paring knife to cut under the base of the cake and the parchment paper strips. Gently pull out the parchment paper strips with one hand while holding the paring knife against the bottom edge of the cake with the other hand.
Here’s the printable recipe…

Coconut Overload Cake
Ingredients
- 1 1/2 c blanched almond flour (150 g)
- 1/2 c coconut flour (50 g)
- 2 tsp baking powder
- 1/4 tsp salt
- 1/2 c coconut oil (room temperature)
- 1/2 c Monkfruit sweetener- Golden (100 g)
- 4 eggs (room temperature)
- 3/4 c almond milk
- 1 tsp vanilla extract
- shortening (compliant)
- 8 oz organic cream cheese
- 8 tbsp goat's milk butter
- 1/2 c powdered monkfruit sweetener
- 1 tsp vanilla extract
- 1-2 c finely shredded coconut-unsweetened
Instructions
- Preheat oven to 350° F. Grease and line (2) 6-inch pans with parchment paper.
- In a medium bowl, whisk together the almond flour, coconut flour, baking powder, and salt until combined. Use a silicone spatula, and bring the powders from the bottom of the bowl to the top. Whisk again to combine thoroughly.
- In the bowl of a stand mixer with the paddle attachment, add the coconut oil and monkfruit sweetener. Cream together for a few minutes until fluffy.
- With the mixer on low, add the eggs one at a time, allowing each egg to combine in the batter. (Batter may look curdled, this is normal) Scrape down sides as needed and continue mixing on low.
- Add the almond milk and extract to the mixer until combined. Scrape down sides if needed.
- With the mixer on low, slowly add the dry ingredients until combined.
- Divide the batter evenly between the two prepared 6-in pans
- Use a spatula to smooth the top of the batter or wet fingertips.
- Bake for 40 minutes. Insert a toothpick into the center to check for doneness when the toothpick comes out clean.
- Let cakes rest in the pan for 10 minutes on a heatproof surface. Then remove cakes from pans and transferring to a wire rack to cool to room temperature.
- In the bowl of the stand mixer with a paddle attachment, add the cream cheese and butter. Mix together until creamy and unified in color.
- With the mixer on low, slowly add the powdered sweetener, scraping down the sides as needed.
- Add the vanilla and mix until incorporated.
- Frost a cooled cake. Read the blog post on how to add the shredded coconut to the outside of the cake.